Babies have started popping out everywhere in my family during the past couple of years. With little ones around, I've been able to broaden my crafting horizons and am looking forward to making more things as they grow up. My sister-in-law, Tara, will be having a baby boy, Brayden, anytime now! Maybe this post will get things moving...
First up...doll beds!
Eh.
I saw this doll bed at an antique store and immediately thought of my two year old niece, Delaina (Tara's first child). It was only $7, so I snatched it up with plans a brewin' to paint it and make a bedding set. The bed was made in North Carolina, which is the mecca for furniture in America, so painting it was probably "wrong" of me...but the bed was asking for it.
First, I spray painted the bed in Krylon's gloss ivory.
Mattress

I wanted to make a mattress/sheet, so I bought two squares of foam for $1.99 each. I cut them to fit inside the bed and had a little leftover for pillows.
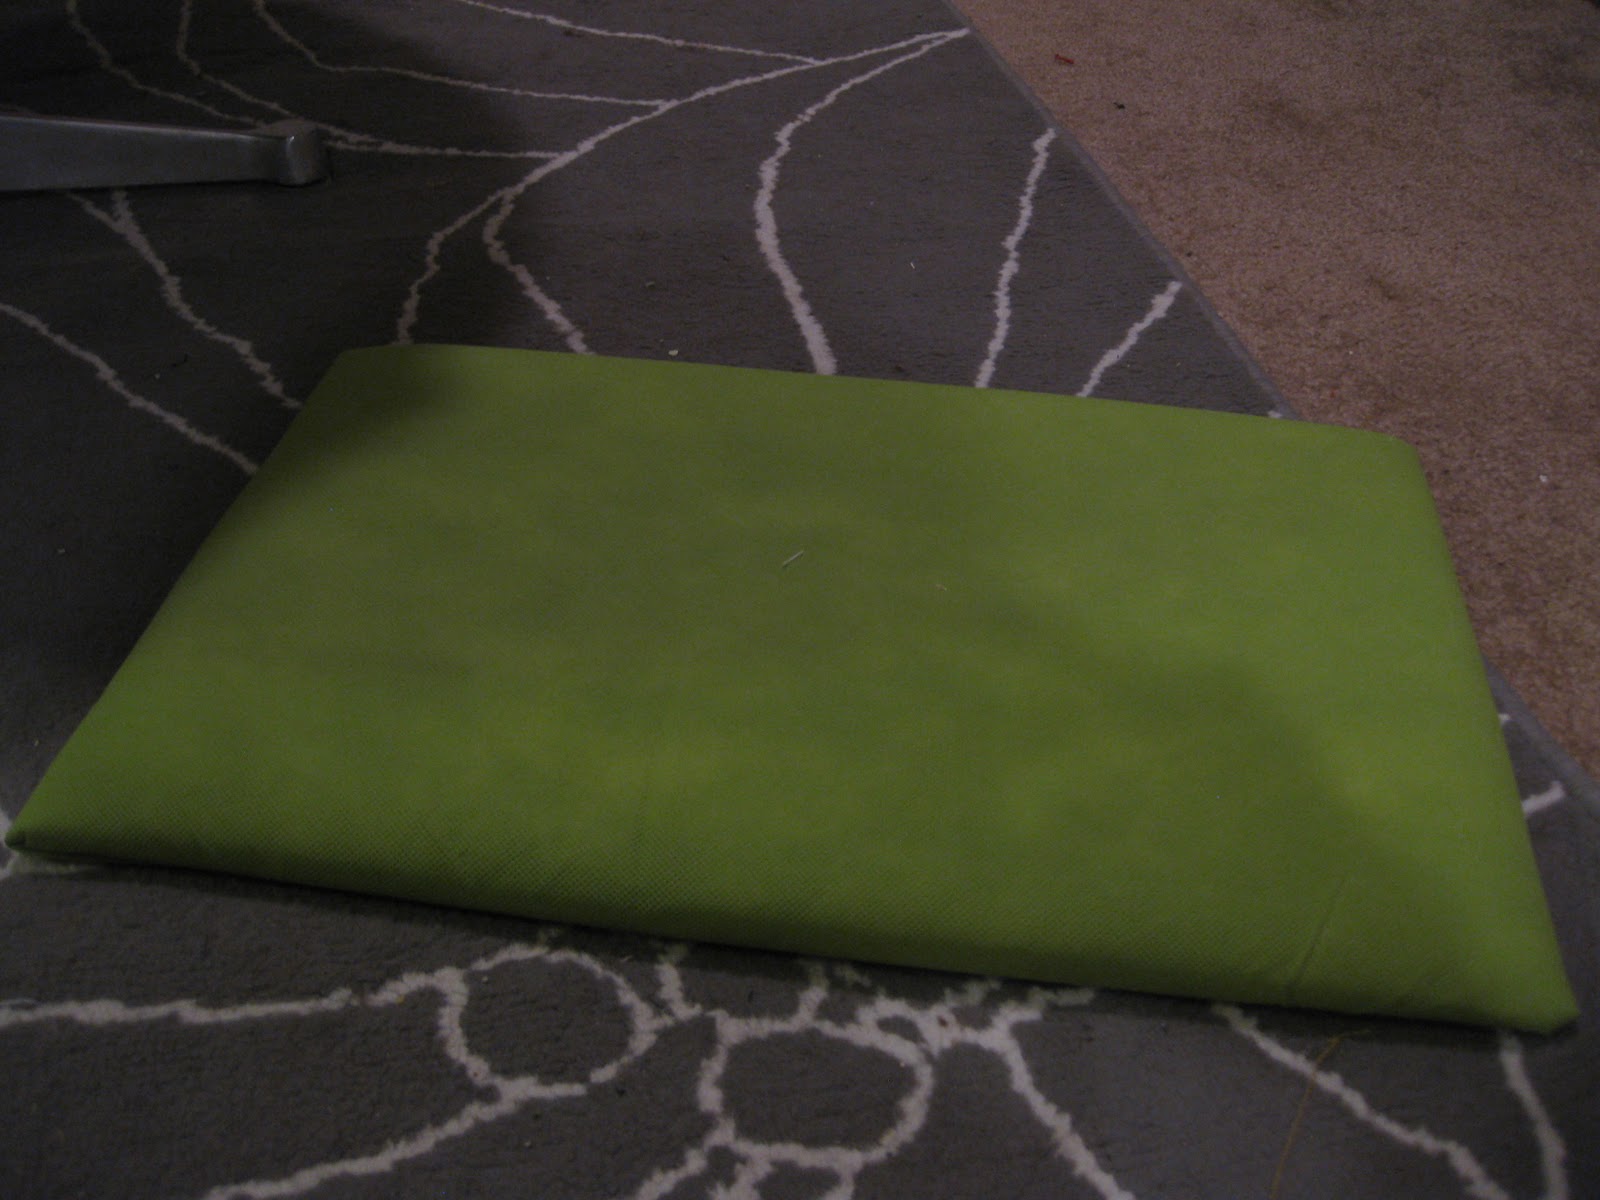
I found some green fabric in my stash (recognize it from my headboard?) and placed the foam and a sized piece of plywood on top. Then I used a staple gun to attach everything together.
Sorry, dolls, your mattress doesn't look very comfortable.
Comforter
For the comforter, I cut two pieces of fabric to form a reversible blanket. I pinned the fabric right sides together and stitched around the perimeter, leaving a hole large enough to insert batting. After turning it right side out, I placed the batting inside and stitched all around the edge to close up the seam and give the comforter a more finished look.

I also added buttons covered in the reverse fabric.
Pillows
With the leftover foam, I made a couple of pillows and pillow cases. They are very accurate...the pillows are as hard to get into the cases as in real life. Ugh.
I also made accent pillows with Delaina's initials. (I'm pretty sure they will get lost in about five minutes, but oh well).
Ta-Da!
I don't have any dolls, so you know I had to use a cat...
Bear wanted to be on it too, but I didn't want him to break it.
Merry Christmas, Delaina! I hope she isn't reading this.
Next up...appliqued onesies!
I stumbled upon a tutorial for appliqued onesies after my sister (the "hot mom") had her first baby, Benjamin (the "adorable, fashionable baby"), so I gave them a try. I thought they turned out cute, although not perfect. And of course a new baby, Brayden, is on his way so I gave them another shot.
The preparation is pretty easy, but the sewing is a little annoying. You can make your own template or print one from the internet. I made my own because I was too lazy to plug our printer into the laptop and mess with sizing. After I made my templates, I traced them onto the fabric, cut out the shapes, and placed them onto the onesies using a light fusible web. The fusible web is like a thin, sticky piece of paper that makes adhering the fabric piece to the onesie easier than pinning since you need a flat surface.
Then all you do is stitch the shape you chose onto the shirt! After I made my first batch for Benjamin, I thought the zig-zag stitching looked messy, but it turns out that the problem was just my sewing skills. For Brayden's first onesie, I tried a regular straight stitch, but I think the zig-zag is a lot cuter, even if my stitches zig and zag all over.
The most important thing to remember is to make sure you are not sewing the onesie front and back together. They are so small, so getting them bunched up and sewn together is really easy if you don't pay attention. If you're sewing along, feeling confident about your onesie....you've just sewn it to itself.
I made three for the new baby in various sizes....
#1: A tie
Because he might have to go to a business meeting.
#2: Baaaby Baaaluga
#3: An elephant...this one is my favorite!

"Hello. I'm a cute baby elephant."

Warning: These may turn your baby into a male model.
Work it, Benjamin!
And lastly...owls!
I have to admit I would have made these whether I knew any kids or not. I'd probably just set them around all over my apartment so I could look at them anytime I please. They are just so cute. They were my obsession before the scarfs, as you will see from all my pictures. I'm not going to explain how to make them because they are a very original idea from another blog and I am jealous that I did not think of it.
Check out
New Green Mama's tutorial for instructions.
The owl is very easy to make, but it is also very time consuming. The legs are the worst part. I despise them. I can never seem to finish one without ten problems and legs being thrown across the room. That's probably due to my sewing skills again. The eyes also take a lot time because you have to hand stitch the three layers. One owl probably takes me at least three hours from start to finish. They're worth it though...just look at 'em!

I made this fella for my one year old nephew, Nathan. I heard he loved it so much he started ripping off its legs (that's okay...they only took me an hour each).

This owl blob is baby Brayden's. I figured he didn't need any wings or legs to put in his mouth.
Benjamin with his owl. Hoot!

Here is Delaina holding her owl. So sweet! (It matches her bed.)
Then I ran out of babies and started making them for adults....

This one is Aubrey's. She named him Olivander. He's British.

I made these lovebirds for my bosses' 50th wedding anniversary. I added Velcro to the underside of the wings so they could hold hands. I didn't want to deal with the legs, so I added sand to the bottom, allowing them to sit upright. I don't know what use they have for stuffed owls, but I made the them anyway... Must. Make. Owls.
These three ideas would be easy and affordable gifts for any babies or toddlers on your Christmas list. I used fabric scraps for everything, so I only had to buy a couple items to complete the projects. If you decide to make any of these crafting endeavors, have fun!
Aubrey, you need to have a baby so I can make you baby gifts...
-Kt


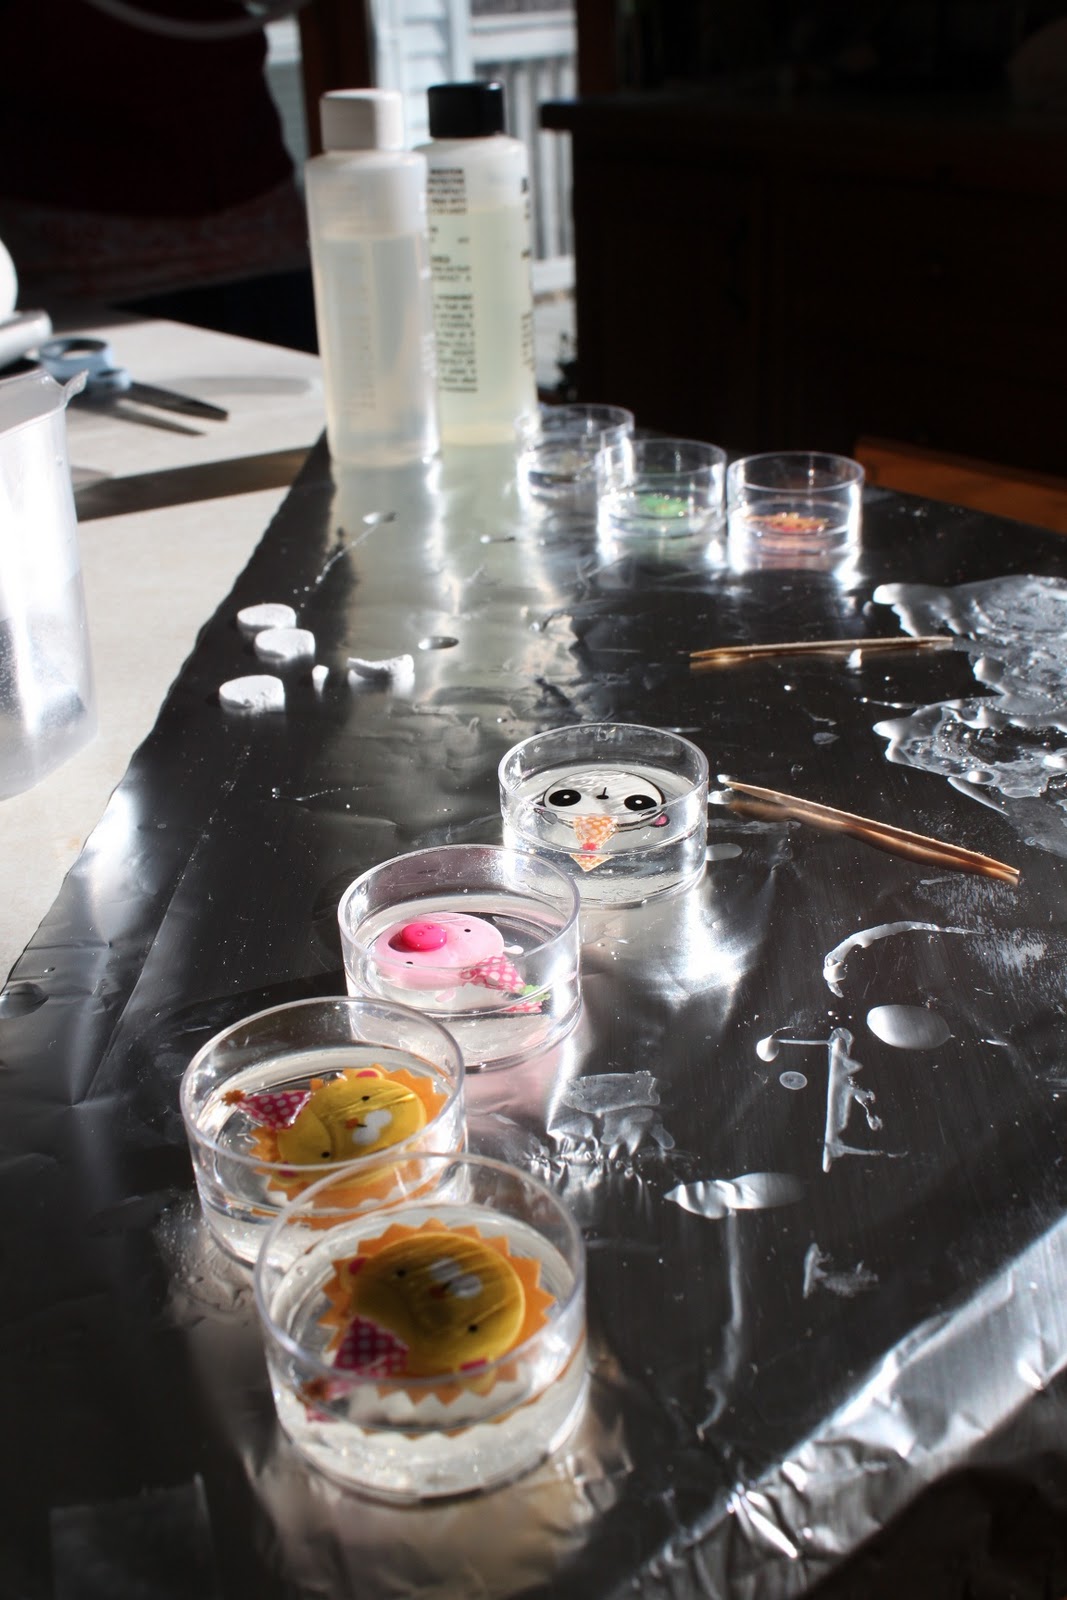 Interestingly enough the hardest part of this process was finding the right size molds. I came across some plastic cases for tea lights that were just the right size. I will never use these again. It might have been my refusal to by the $11 dollar lube, but I'm a lady. Anyways I ended up prying out the beads with pliers and got a gnarly blister. I’m getting ahead of myself. The clear epoxy is super simple. Measure out equal amounts of both mixtures, pour, and don’t get it in your eyes. I let the beads dry for 24 hours and then start the extraction process mentioned above. I’m looking for rubber molds next time.